Meats and Sausages
Ives-Way Automatic Can Sealer
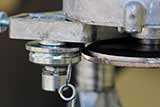
Adjusting Seaming Rollers
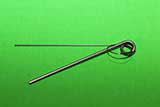
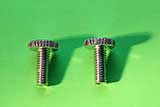
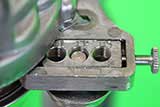
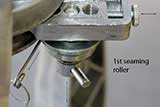
Tighten the thumb screw until a drag is felt on the gauge wire as it is being pulled forward. Keep the gauge wire in place then tighten the thumb screw an additional 1/4 turn.
Lock the roller screw in place by tightening with the 3-inch pin. Check to see that the thick gauge wire cannot be pulled out easily. If it can, loosen the roller screw slightly and and tighten the thumb screw slightly. Lock the roller screw in place and re-check to see that the gauge wire cannot be pulled out easily. If it still can, repeat the above step until it cannot. To remove the gauge wire turn the crank clockwise. After the adjustment is complete and the roller screw is locked in place, tighten the thumb screw.
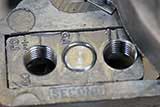
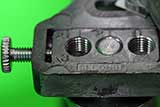
Loosen the roller screw with the 3-inch pin and loosen the thumb screw two or three turns. Slide the 2nd seaming roller assembly and 3-hole nut back until the 3-hole nut touches the thumb screw or stops against the rocker frame. Remove the 3-in pin and retighten the roller screw by hand. Insert the thin gauge wire between the chuck and the grove in the 2nd seaming roller. Tighten the thumb screw until a drag is felt on the thin gauge wire as it is being pulled forward. Keep the gauge wire in place then tighten the thumb screw an additional 1/4 turn.
Lock the roller screw in place by tightening with the 3-inch pin. Check to see that the thick gauge wire cannot be pulled out easily. If it can, loosen the roller screw slightly and and tighten the thumb screw slightly. To remove the thin gauge wire turn the crank counterclockwise.
Notice that the same procedure is used for both seaming rollers, except in adjusting 1st roller turn the crank clockwise to remove the thick gauge wire.
In adjusting 2nd roller turn the crank counterclockwise to remove the thin gauge wire.
- Ives-Way Products, Inc.
- PO Box 70
- Round Lake Beach, Illinois 60073
- Phone: (847) 740-0658

