Meats and Sausages
Filling Jams and Jellies
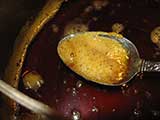
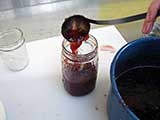
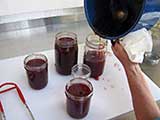
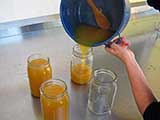
Jams and jellies should be filled when they are still hot (over 180° F). Remove jelly from the heat supply and skim off any foam (it is edible). Fill hot jam into hot sterilized glass jars, leaving 1/4" headspace. Wipe off the rim of the glass jar clean and place a hot lid on the jar with the sealing compound facing glass. Screw the metal ring down fingertip tight.
The traditional process for making jellies would usually stop right here. The glass would be inverted for 5 minutes and if no leaks would be visible, the jar would be placed in its normal upright position to cool down. This method served us well for centuries but the closure was occasionally not vacuum tight. That allowed molds to grow on top of jelly. Usually the mold will be skimmed off and the jelly would be deemed fit for consumption.
However, recent research has determined that some molds may produce toxins, and therefore, any molds should be avoided. To create a vacuum and remove the air which is crucial for the development of molds, jellied products should be processed in a hot water bath. High temperatures will kill any mold spores that could have sneaked in from the air during the filling process. This removes air and creates a much tighter seal.
The cooking step kills molds which were originally present in a juice or fruit mixture, but new molds may enter when the jars are filled. Processing filled glass jars in boiling hot water eliminates those new molds.
Preparing jars for filling
Wash glass jars in hot soapy water and rinse. There are two methods of preparing canning jars for filling and heating:
1. Sterilize the jars and lids by boiling them for 10 minutes and hold them in hot water until they are ready to use.
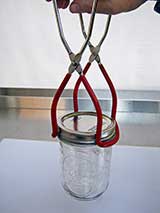
Use a jar lifter to pick them up from the canner. Hook the jar lifter below the screw band of the lid and keep it upright at all times. Tilting the glass jar may spill contents into the sealing area of the lid.
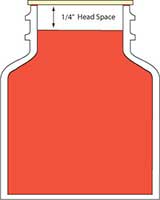
Headspace.
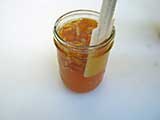
Allow for 1/4" headspace. The headspace is the space between the top of the jellied product and the inside of the lid. Too much headspace results in a lot of trapped air under the seal and the heating process may not be long enough to expel all the air. This may allow molds to grow, affect the color of the product or weaken the seal. Too little space may force the product to boil out, leave particles of product under the sealing compound and prevent the formation of the seal.
The capping process follows the filling and should be performed without any delay. The product should be capped as hot as possible, which ensures a sterile package and a higher vacuum. This in turn leaves less air in a container and creates a stronger seal.
Wipe off the rim of the jar clean and place a hot lid on the jar with the sealing compound facing glass. Screw the metal ring down fingertip tight. Do not apply excessive force when tightening the bands as this might prevent the air from escaping during heating and no vacuum will be formed. The resulting pressure may deform lids and prevent them from sealing properly.
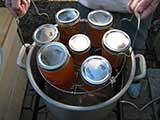
Place the filled, closed, hot jars on a canning rack and transfer to a canner filled with hot water for heat processing.

